Elementor is one of the leading page builders on the market, offering users a robust library of widgets to create stunning websites without coding. Among those widgets, the Icon Box stands out as an effective way to showcase features, services and products visually appealingly. With Elementor Icon Box Animated feature designers can add an extra dimension to their designs, making them more captivating for visitors. In this blog post we’ll examine some tips and tricks for customizing Elementor Icon Box to a modern animated widgets so you can create eye-catching designs!
What is Elementor Icon Box Animated?
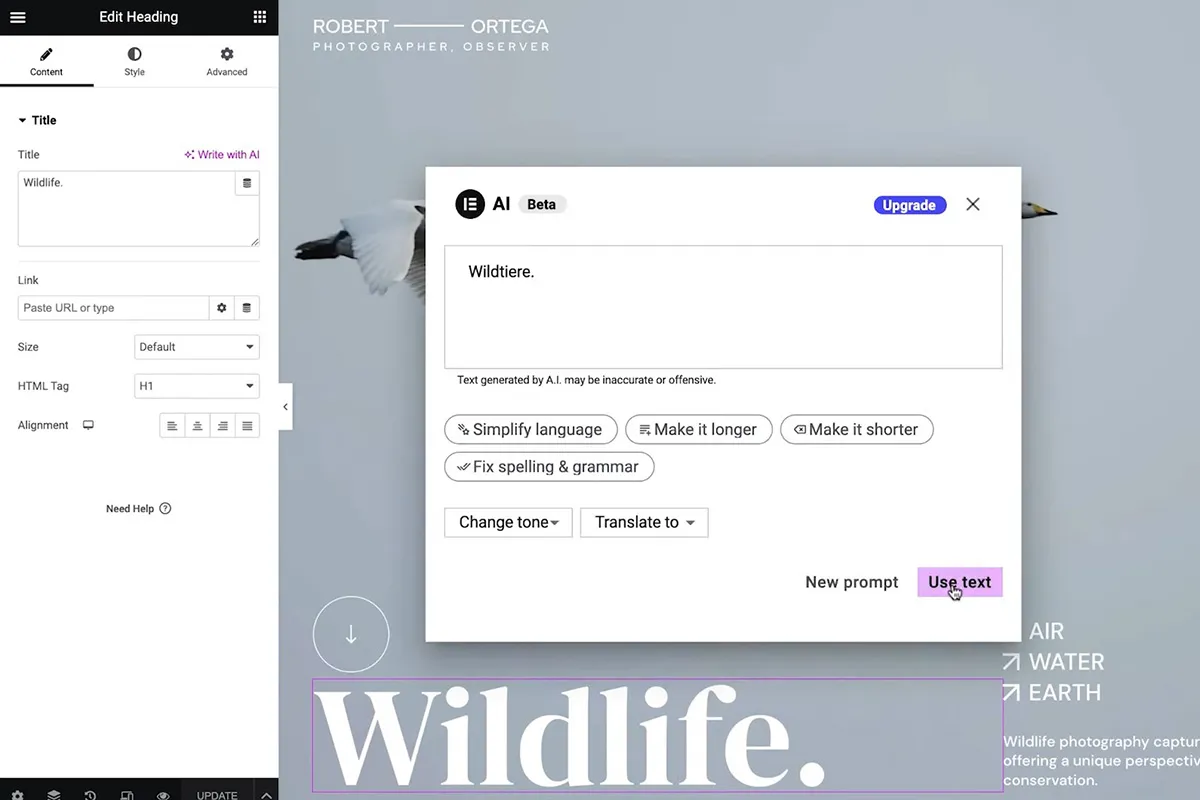
Elementor Icon Box is a widget that enables designers to add blocks containing an icon, title and text to their pages. Users can customize each element’s appearance by changing its color, size and shape; altering font and color of title and text; setting alignment and spacing within the block as well as activating Icon Box Animated feature which adds animation effects like fade in, slide up or zoom in for added impact.
Tips and Tricks for Customizing Elementor Icon Box Animated
- Choose the Right Animation Effect for Your Design
Customizing Elementor Icon Box Animated begins with selecting the animation effect that best fits your design’s purpose and aesthetic. For instance, if you want to draw attention to a feature or benefit, use zoom-in effect for drawing attention to icons and text; on the other hand, slide-in effect can simulate timeline or sequence progression. Experiment with different effects and see how they influence both design and user experience.
- Use Color and Contrast to Emphasize Key Elements
Another way to make your Elementor Icon Box Animated design stand out is by strategically using color and contrast. For instance, select bright or contrasting colors for the icon and title so they stand out against the background. Likewise, darken or subdued text with darker tones to create depth and hierarchy. Furthermore, use color and contrast within each block by making titles bigger or bolder than text.
- Customize the Icon Shape and Size
The icon is the key element of an Elementor Icon Box, representing its content. Therefore, customizing its shape and size can have a dramatic impact on your design’s visual aesthetic. Elementor provides numerous icon libraries such as Font Awesome, Material Icons and Dashicons with thousands of options to choose from; you can even change its color, size and shape to match your brand identity or design concept.
- Use Hover Effects for Interactivity
Hover effects are an excellent way to add interactivity and engagement to your Elementor Icon Box Animated design. With Elementor, you can create hover effects that alter an icon’s color, size, or position when the mouse pointer hovers over them. This effect creates a sense of anticipation or surprise which encourages visitors to explore more content on your website. You could even simulate user feedback by changing the icon’s color to green when someone completes an action or task.
- Experiment with Layout and Spacing
Finally, don’t be afraid to experiment with different layouts and spacing options for your Elementor Icon Box Animated design. You can adjust the block’s width and height, alter margins and padding, as well as add borders or shadows for a distinctive touch.
selector .elementor-image-box-img {
    background: #ffffff;
    text-align: center;
    align-content: center;
    align-items: center;
    justify-content: center;
    position: relative;
    border-radius: 30% 70% 70% 30% / 30% 30% 70% 70%;
    animation: one-animated 10s infinite;
    margin: 0 auto;


}

selector .elementor-image-box-img img{
    margin-top: -20px;
}

@keyframes one-animated {
    0% { border-radius: 30% 70% 70% 30% / 30% 30% 70% 70%;
    box-shadow:15px 15px 50px rgba(0, 0, 0, 0.2); }

    25% { border-radius: 58% 42% 75% 25% / 76% 46% 54% 24%; }
    50% { border-radius: 50% 50% 33% 67% / 55% 27% 73% 45%;
    box-shadow:-10px -5px 50px rgba(0, 0, 0, 0.2); }
    75% { border-radius: 33% 67% 58% 42% / 63% 68% 32% 37%; }
}
To help inspire you, we’ve provided case studies of businesses that have customized their Elementor Testimonial Carousel successfully. These examples show how customizing your Elementor Testimonial Carousel can help your business stand out and attract more customers.
In conclusion, customizing your Elementor Testimonial Carousel is a great way to showcase your brand’s unique identity and attract more customers. By following the steps outlined in this post, you’ll be able to create a testimonial carousel that sets your business apart from the competition. If you need help customizing your Elementor Testimonial Carousel, our web development agency is here to help. Contact us today to get started.